How to Choose a Console Table for a Hotel Project: A Step-by-Step Specification Checklist
Learn how to choose a console table for a hotel by working through location, use, size, material, finish, hardware and ordering in a clear sequence. Built for procurement teams, designers and contractors.
If you are wondering how to choose console table models for a hotel, the most reliable approach is to decide in sequence: start with where the piece will stand and what it must do, then move to size, construction, material, finish, details and ordering terms. Choosing a finish or a style first is the most common reason specifications need to be reopened later. This checklist gives your procurement team a decision order that keeps the console table specification clear for both designers and factories.
We manufacture custom hospitality furniture to project drawings in our own factory in Istanbul and ship worldwide, so the steps below reflect how a specification is actually turned into production.
Why a decision sequence matters
A console table looks simple, but in a hotel it is a working piece of fixed or semi-fixed furniture. It meets luggage, housekeeping trolleys, cleaning chemicals, guests leaning on it and sometimes lamps or decor that people want to take home. Each of those conditions should drive a choice, not the other way round.
Working in order also helps you compare quotations fairly. When every supplier receives the same brief, the differences in price and lead time become easy to explain.
Step 1: Define the location and the job
Begin with a plain statement of where the console will stand and what it is for. Different locations place very different demands on the same basic form.
- Lobby or reception: a visible, high-traffic position where appearance and impact resistance both matter.
- Corridor or elevator lobby: limited depth, clearance and fire-safety rules often decide the design.
- Guest room or suite: a slim piece for an entry niche, under a TV or between living and sleeping zones.
- Restaurant, bar or spa: service, display or reception use, sometimes in humid or splash-prone conditions.
Write down the function in one sentence, for example: "display piece with a lamp and tray in a ground-floor lobby" or "slim landing table in a 1.2 m (47 in) wide corridor niche". This sentence becomes the reference for every later decision.
Step 2: Check the regulations and clearances
Before you fix dimensions, confirm the rules that apply to the space. Corridors and escape routes are governed by local codes covering clear width, accessibility and sometimes the combustibility of fixed items. Requirements differ by country and building type, so ask your fire consultant or local authority rather than relying on a general rule.
If the console will sit in a public circulation area, record the minimum clear width it must leave. Also note whether any fire-retardant (FR) treatment or documentation is requested by the project specification.
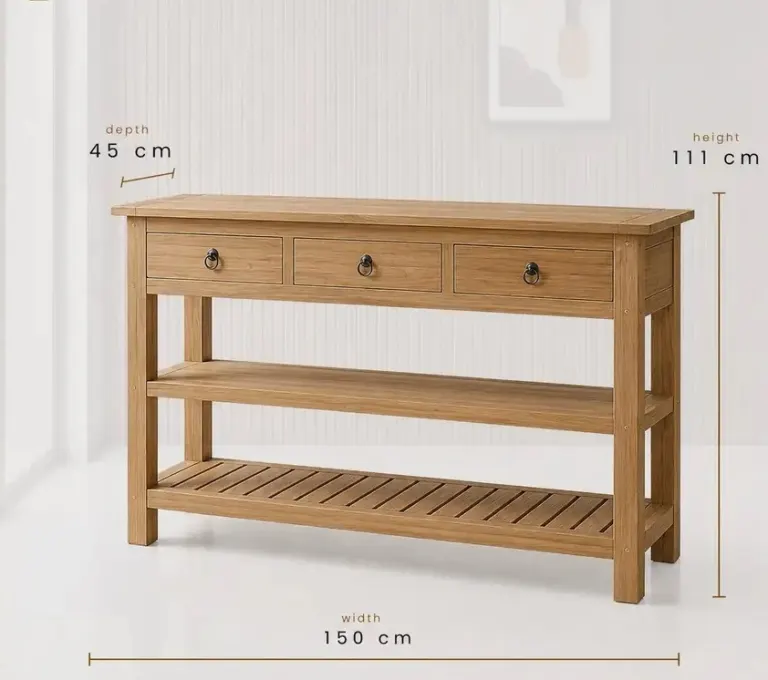
Step 3: Set the dimensions
Dimensions come from the space, the use and the people. Measure the actual niche, wall length or alcove, and allow for skirting boards, sockets and wall lights.
| Dimension | What to decide | Typical consideration |
|---|---|---|
| Length | Proportion to wall or furniture beside it | Leave visible wall at both ends |
| Depth | Function and circulation space | Narrow pieces suit corridors; deeper tops suit lobbies |
| Height | Use as display, landing or work surface | Align with adjacent furniture and mirrors |
| Top overhang | Visual balance and knee or toe space | Avoid a top-heavy look |
Give all dimensions in millimetres with inches in brackets if your team works across both systems. Exact figures should come from your drawings, not from a catalogue average.
Step 4: Choose the form and storage
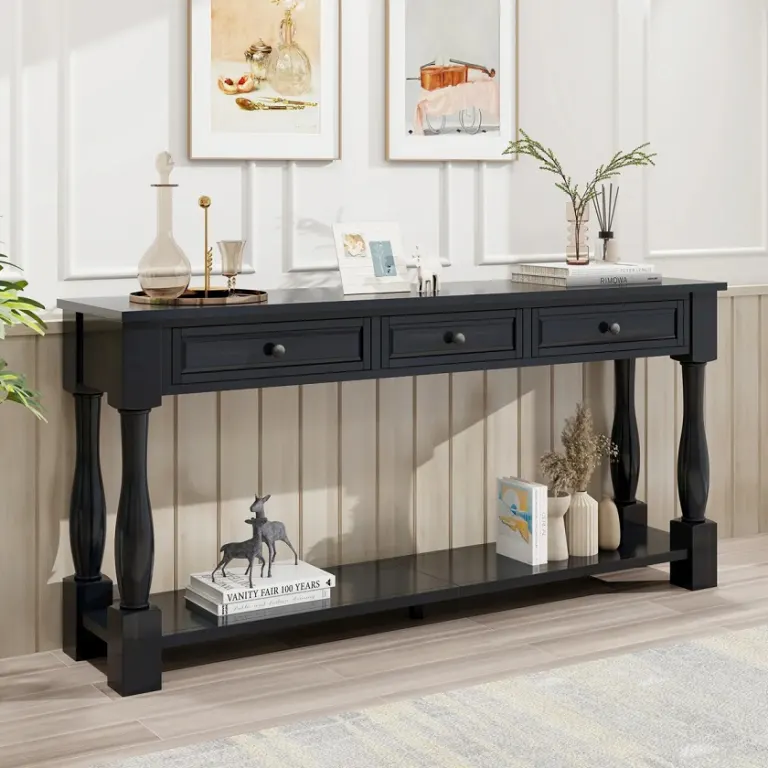
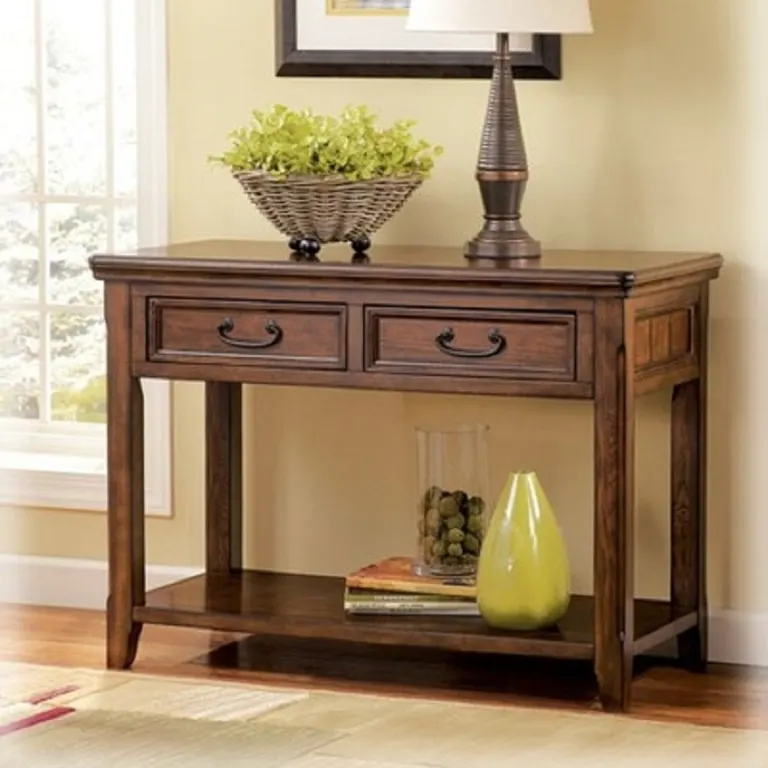
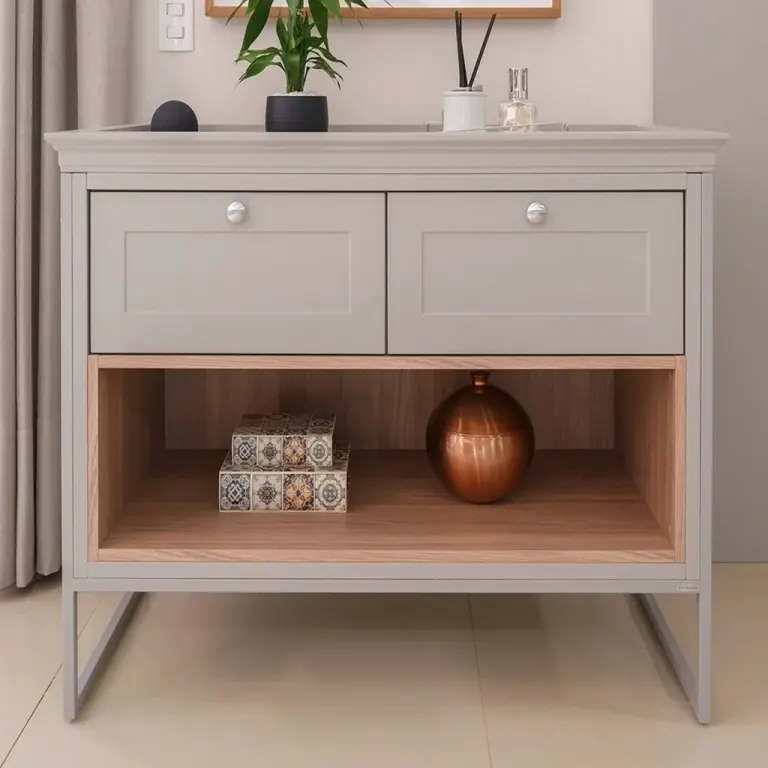
Once the footprint is set, decide the form: open frame, wall-mounted, with drawers, shelves or doors. Each added feature adds hardware, tolerances and cost.
- Open and slim: lightest visually, least storage, simplest to produce.
- With drawers or shelves: useful in suites and public areas, but runners and fronts need to withstand daily use.
- With doors: good for concealed storage and cable management, with hinge and lock choices to settle.
- Wall-mounted: frees the floor but needs a confirmed wall type and fixing method.
Ask yourself whether the extra feature will actually be used by guests or staff. If not, a simpler piece usually ages better.
Step 5: Select the material and construction
This is where durability and budget meet. Solid timber, veneered panels and mixed builds with stone, glass or metal each have a place in hospitality.
- Solid wood: can be sanded and refinished, but needs well-dried timber and sound panel construction to limit movement.
- Veneer on engineered core: stable, consistent in appearance across large batches and often more economical for repeated pieces.
- Stone or glass tops on wooden bases: add a premium look, with extra weight, edge care and packing needs.
- Metal accents: brass or steel details work well but should be specified with a clear finish and tolerance.
Match the choice to the location from Step 1. A lobby feature piece justifies different construction than a console repeated across 150 corridors.
Step 6: Specify wood species and colour
Species affects grain, hardness, colour range and availability in your delivery region. Oak, walnut, ash and beech are widely used; denser timbers may be preferable for humid areas. Ask the factory which species it can source reliably for your quantity.
For colour, avoid descriptive words alone. Terms like "honey" or "espresso" mean different things to different people, so refer to a physical sample, a stain card or a reference code and approve it under the lighting of the actual space.
Step 7: Decide the finish
The finish is the layer guests and housekeeping touch every day. The main options are natural oil, lacquer and other protective coatings, each with a different look, repair method and cleaning tolerance.
- Oil: natural feel and easy local repair, but it needs regular maintenance.
- Lacquer: stronger surface protection and more uniform colour, with repairs that are harder to blend.
- Gloss level: matte and satin tend to hide fingerprints and light scratches better than high gloss.
Consider the cleaning products used by the hotel, since some chemicals damage coatings. Ask the factory what finish performance it can demonstrate on a sample.
Step 8: Plan hardware, stability and details
Small components decide how the piece behaves after a few years of service. Confirm the following in the specification:
- Runners, hinges and locks suited to commercial use.
- Levelling feet or another solution for uneven floors.
- Wall anchoring to prevent tip-over, where appropriate.
- Cable cut-outs, grommets or integrated lighting and charging if needed.
- Fixed accessories if lamps, trays or decor must stay in place.
- Edge and corner protection in areas with trolley traffic.
Step 9: Agree the sampling and approval route
For anything beyond a single piece, approve a sample or prototype before mass production. Check proportions, colour, finish, joints and hardware on the actual piece, and record the approved details in writing. This protects both sides when the batch is later compared with the sample.
Small, normal variations in natural wood are expected, so agree in advance what is acceptable, especially for veneer and grain.
Step 10: Confirm quantity, packing and delivery terms
Quantity affects unit cost, finish consistency and production slots. Tell the factory the total number of pieces, whether they are all one design or several sizes, and the delivery sequence you need.
For export, agree the Incoterm (for example FOB, CIF or DAP), packing method, labelling by room or area, and whether pieces ship assembled or knock-down. Timing and cost depend on the project, so request a lead time based on your drawings rather than a general figure.
Quick specification checklist
- Location and function written in one sentence.
- Local regulations and clearances confirmed.
- Dimensions taken from the actual space.
- Form and storage features decided.
- Material and construction matched to the location.
- Species and colour tied to a physical reference.
- Finish and gloss level chosen for cleaning and wear.
- Hardware, anchoring and cable details listed.
- Sample approval route agreed.
- Quantity, packing and Incoterm confirmed.
Conclusion
Knowing how to choose console table pieces for a hotel comes down to order: purpose first, then space, construction, appearance and logistics. A specification written in this sequence is easier to quote, easier to approve and less likely to change after production starts.
If you are planning a hotel or renovation, send us your drawings, photos or a short brief. We will review the requirements and come back with material suggestions, an estimated lead time and shipping options for your destination.
Sıkça Sorulan Sorular
What should I decide first when choosing a console table for a hotel?
Decide the location and function first. A lobby feature piece, a corridor console and a guest room entry table each need different sizes, materials and fire or clearance considerations. Once that is clear, dimensions, construction and finish become much easier to specify and compare between suppliers.
Is solid wood or veneer better for hotel console tables?
Neither is always better. Solid wood can be refinished and suits feature pieces, while veneer on a stable core gives consistent appearance across large batches. The right choice depends on location, quantity, budget and how the piece will be maintained.
What information does a factory need to quote a console table?
Provide drawings or sketches, dimensions, quantity, preferred wood or material, finish reference, hardware needs and destination country. Photos or a mood board can help, but accurate dimensions and a clear finish reference lead to a more reliable quotation.
Do I need a sample before ordering console tables?
For batches, a sample or prototype is strongly recommended. It lets you check proportions, colour, finish and hardware before production, and gives both sides an agreed reference for comparing the delivered pieces later.
Can console tables be made to order and shipped worldwide?
Yes. We produce custom pieces to project drawings in our Istanbul factory and ship internationally. Packing method, Incoterm and delivery sequence should be agreed early, and lead time depends on quantity, materials and the approval process.
Every hotel project is different. Send us your drawings or room schedule for a tailored proposal on materials, lead time and shipping.